Shopify is a hosted eCommerce platform that helps online store owners focus more on product, marketing, and customer support – and less on the technical nitty-gritty of ecommerce.
Shopify is the middle ground in the eCommerce world.
It allows more customization & more branding than a marketplace like Etsy, but Shopify also takes care of more technical aspects than a self-hosted platform like WordPress + WooCommerce.
Because of this, Shopify is a great choice for business owners who are looking to build a store with customization but still get out of the gate quickly and start making sales.
But making sales is the tricky part.
Unlike Etsy or Amazon – Shopify does not provide marketplace-like marketing opportunities.
In order to make sales on Shopify, you need to have a decent foundation to get customers and run sustainable marketing campaigns.
Since these two things go hand-in-hand, this guide will cover how to set up a strong foundation, as well as how to get customers on Shopify once that foundation is in place.
Steps To Create Your Shopify Store
- Steps To Create Your Shopify Store
- 1. Choosing The Right Store Name
- 2. Setting Up Your Shop
- 3. Adding Products + Collections
- 4. Marketing Your Shop
- Next Steps
- Related Articles
1. Choosing The Right Store Name
Shopify’s sign-up process requires you to choose a name for your store, which becomes your store’s URL provided by Shopify (www.storename.myshopify.com). This address cannot be changed, so it’s best to have this figured out ahead of time.
Shopify has a detailed guide to choosing a store name, but here are a few things to keep in mind:
- Your store name is what will be included in your Shopify-provided domain. While you could create a new, custom domain and change the title of website in the customization area, it’s best to choose a brand name you’ll stick with for the sake of consistency.
- Shopify’s sign up process includes a name availability check to ensure your store name hasn’t been used on Shopify.
- Be sure to Google your potential brand name for conflicts.
- Go ahead and search on a domain registrar (like Namecheap vs. GoDaddy) and purchase a domain name for future use – even if you plan to use the Shopify subdomain for initial setup.
2. Setting Up Your Shop
Once you’ve got your name in mind, it’s time to actually set up your Shopify store. Here’s the step-by-step process:
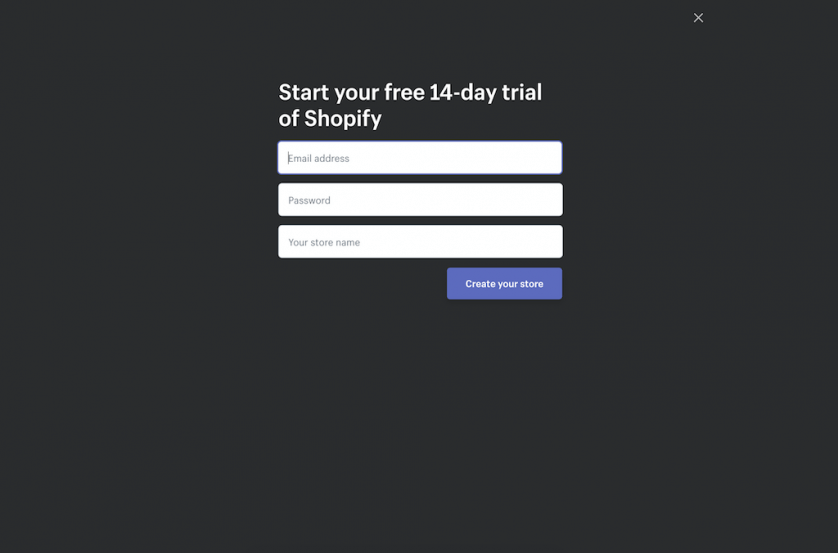
Create Your Account
Start by creating an account on Shopify. Input your email, password, and store name.
You’ll then be taken through an account set-up process that includes some data collection from Shopify and inputting your address so you can get paid.
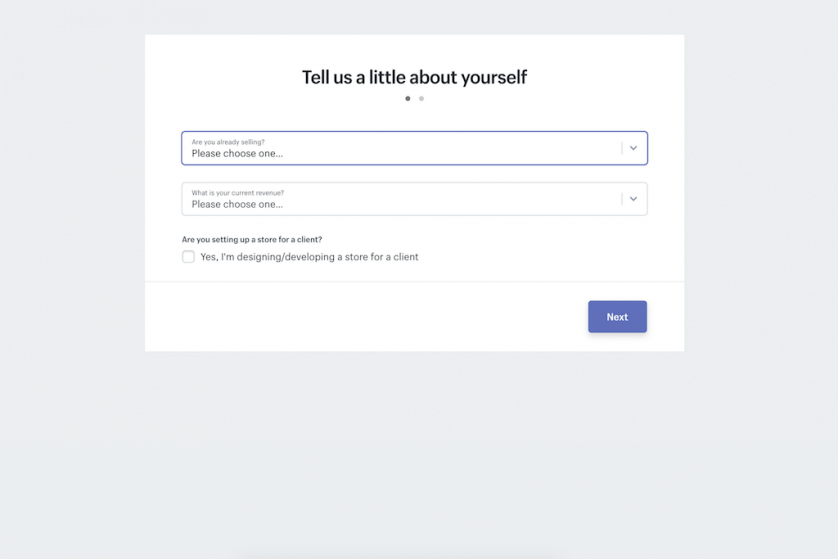
Next, you’ll want to select your Shopify plan. Shopify gives sellers a 14-day free trial, but if you know you’re sticking with the platform, it’s good to go ahead and decide which plan you want.
Here are the breakdowns:
| Plan | Basic Shopify | Shopify | Advanced Shopify |
|---|---|---|---|
| Cost | $29/month | $79/month | $299/month |
| Products | Unlimited | Unlimited | Unlimited |
| Staff Accounts | 2 | 5 | 15 |
| Inventory Locations | 4 | 5 | 8 |
| Reporting | – | Standard | Advanced |
| Online Credit Card Rates | 2.9% + $0.30 | 2.6% + $0.30 | 2.4% + $0.30 |
| In-Person Credit Card Rates | 2.7% | 2.5% | 2.4% |
| Non-Shopify Payment Fee | 2.0% | 1.0% | 0.5% |
| Country-Specific Domains | – | yes | yes |
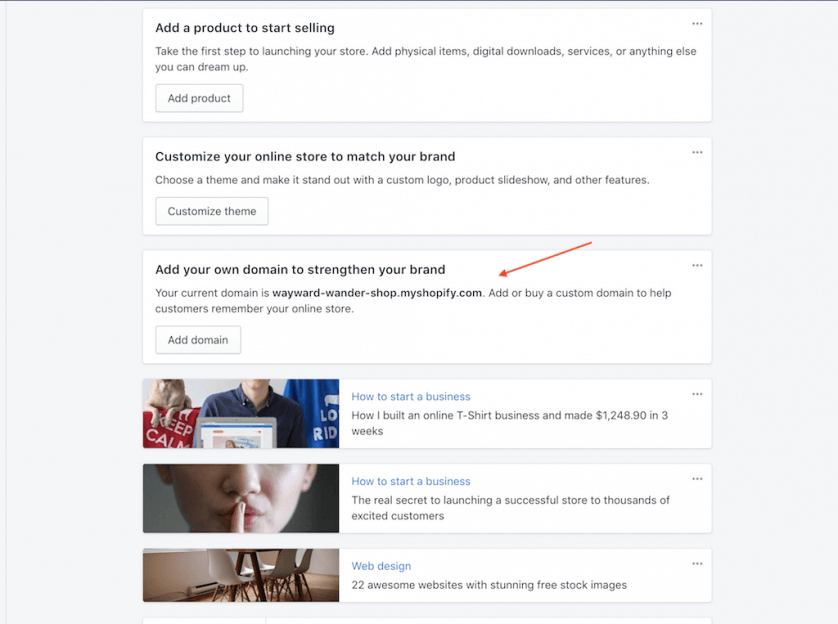
Add Custom Domain Name
A custom domain is the foundation for your brand online. It helps with SEO, unifies your brand image, and makes your shop easier to find when customers search for it. You don’t necessarily need a custom domain to get started with Shopify, but it’s a great idea to use one out of the gate if you’re set on your shop name and are ready to commit to growing your eCommerce store.
To purchase your custom domain, you can purchase directly from Shopify for convenience. Or – if you prefer to maintain separate control of your domain (as I do) – you can use a 3rd party domain registrar like Namecheap or GoDaddy.
After you have it, you can add it to your Shopify store by clicking on “Add Your Own Domain” from your Shopify dashboard and following the step-by-step instructions Shopify includes.
Customizing Settings
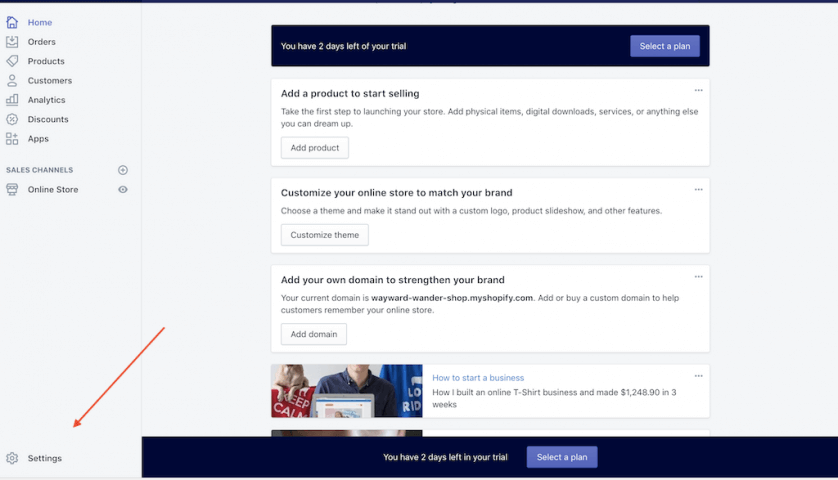
After choosing your plan, it’s time to take care of some logistics you need in place before you start getting customers. Click on Settings in the bottom left-hand corner of your Shopify dashboard.
Start with payment provider settings, which need to be configured before you can accept payments on your store. Shopify has a built-in payment platform, Shopify Payments, which you’ll need to configure to connect to your bank account.
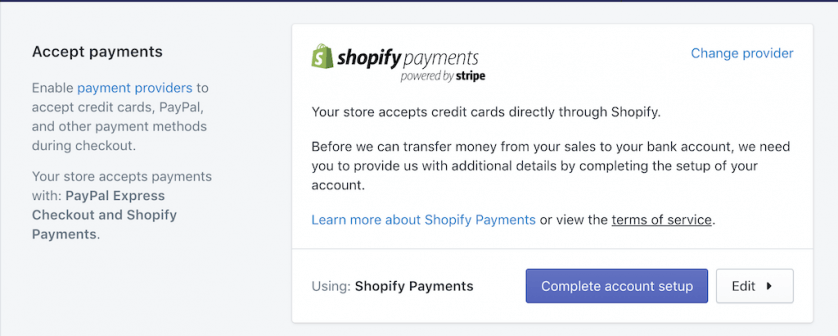
You can also connect your store to PayPal, Amazon Pay, alternative payment methods, and manual methods. If you are using an alternative, be sure to check Shopify’s fees to ensure the math works in your favor.
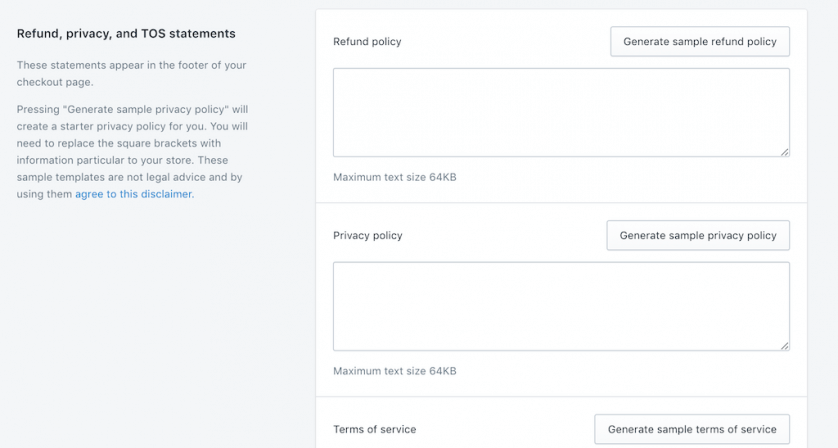
Next, you’ll want to customize your checkout process. Shopify takes care of most of this for you, but you’ll want to add in your refund policy, privacy policy, and terms of service.
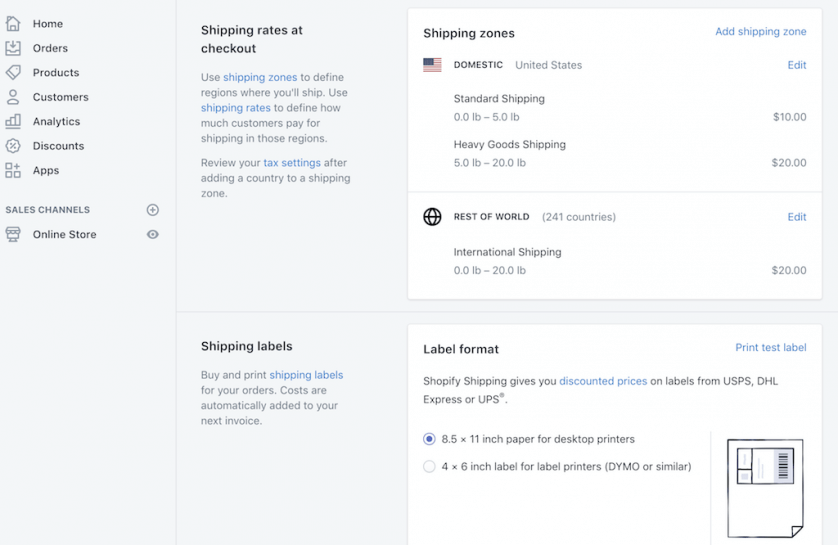
You’ll want to customize shipping settings next, especially if you’re using drop shipping or a fulfillment service. This is where you can edit shipping rates, add label and package sizes, and add in 3rd party shipping partners.
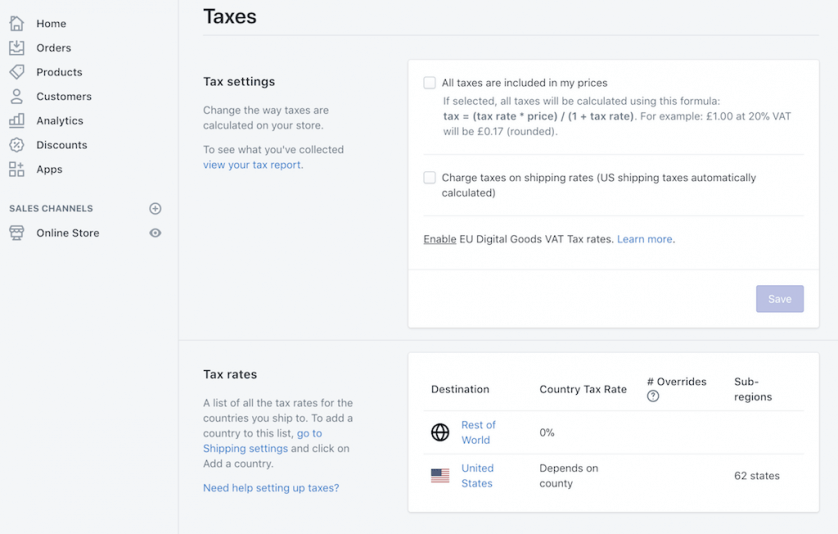
Lastly, configure how you will charge taxes in the Tax section of settings.
Setting Up Data Collection
The key part of setting up your Shopify store is data collection. There are a lot of options, but Google Analytics is the go-to solution (also – free). To install Google Analytics on your Shopify store, check out this guide by Shopify.
When setting up your Google Analytics account, you’ll want to be sure to have Ecommerce checkout setup. Make sure it’s a goal. Make sure the whole package is working correctly, because you have to accurately track conversions (aka sales or email opt-ins).
You should also link Google Analytics to Google AdWords and set up a retargeting audience with Google Analytics. And lastly, you should set up a Facebook Ads account and place a retargeting (audience pixel) cookie on your Shopify store. And learn what exactly Google Analytics does.
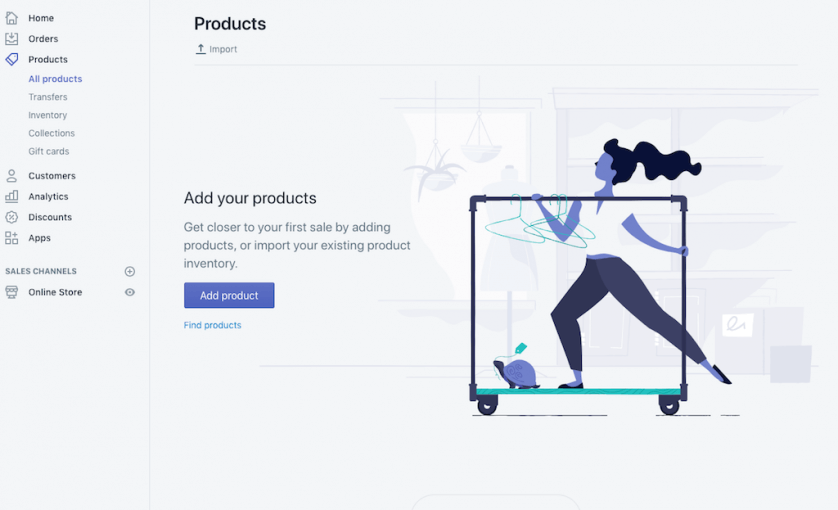
3. Adding Products + Collections
Before you start designing your store, you’ll need to upload your products and create collections, which are Shopify’s version of category pages (think “Blouses, Swimsuits, Hats, etc.).
Before you start uploading products and creating pages, you’ll need to decide on a few things beforehand.
You’ll also want to list out categories for your products, which will turn into your Collections pages. You can also add tags, product types, and even vendors to organize your products. Learn more about organizing your products in this guide by Shopify.
You’ll need product images. Shopify says to:
- Keep image sizes under 20 MB.
- Use high resolution photos
- Use an image size of 2048 X 2048 if you’re using square photos
- Keep in mind that the first product image listed on the product page will be featured product photo
You’ll also need to have your product description and title ready. Make sure these are descriptive, clear, and concise, but also detailed enough to help the customer understand what you’re selling.
Here’s my detailed resource on product page best practices to help you dive deeper.
Creating Collections
Instead of category pages, Shopify uses Collections, which are landing pages for specific category pages. These pages are crucial to getting customers on Shopify. Why?
Because no one really cares about your homepage. Really, it’s for people who already know you and are navigating around your site.
Landing pages are for new (or returning) visitors to land on and convert. So before you build out your Shopify store in detail and add a ton of products, you should develop focused collections pages that sell to one or all of these buckets.
Persona specific – These pages are all about the product benefit for who you are selling to. In terms of Collection pages, this would mean organizing your products based on personas vs. product types. Think “Swim caps for Women Distance Swimmers” or “One-piece Swimsuits for Ocean Swimmers” vs. All Swim caps or All One-piece Swimsuits.

Offer specific – These pages are all about the product information — think typical product organization based on product details, like “Blue Oceanwear” or “Lycra Swimwear.”
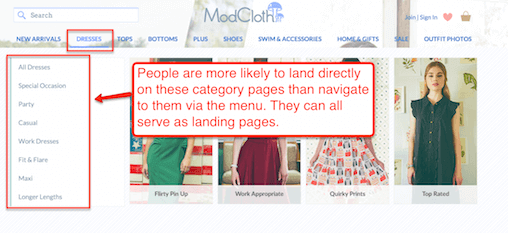
The goal here is to sell people at the very bottom of the marketing funnel — the customers most likely to convert. They already know what they want and are ready to buy. These people will be more expensive to get to your store, but if you can bring them there, they’ll give you the best data and most money quickly.
When you are building these out – don’t do them randomly. Learn about a system called “keyword mapping” – it will set you up for success with organic search and SEO.
To create your Collections pages, click on “Products” from the Shopify dashboard and “Collections”. Remember that each Collection you create will be a category of products and unique landing page.
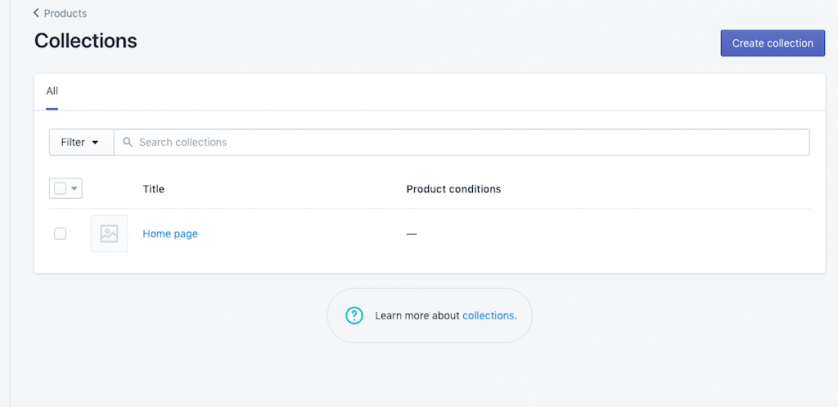
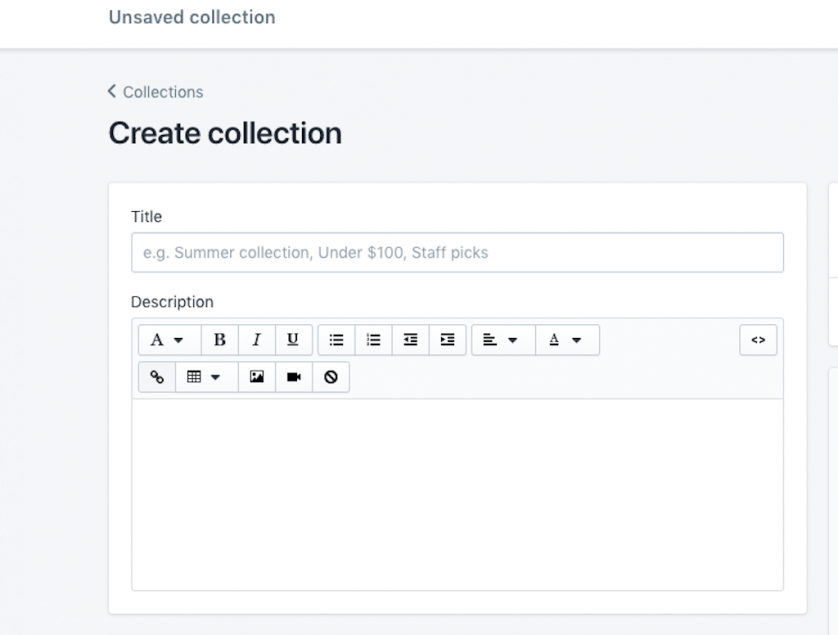
First, name your collection and add the page content to the description area.
Next, choose which Collection type you want to use: manual, where you add products to the page manually, or automated, where products that match set conditions will be automatically added to that collection page. You can read more about automated vs. manual Collections here.

Lastly, edit the website SEO information, which is where you’ll add your title tag and meta description for the page.
Adding Products
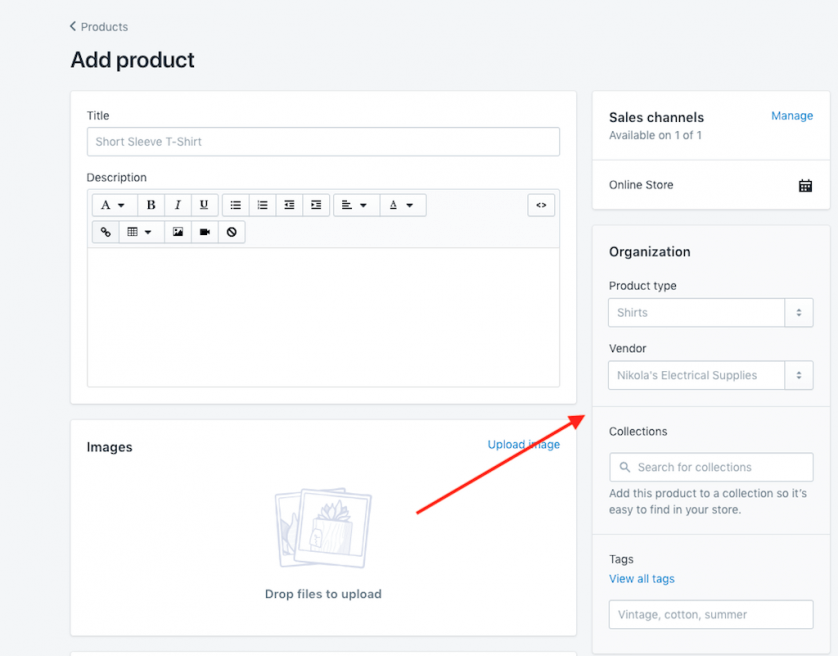
Adding products to Shopify is pretty straightforward. From the Shopify dashboard, go to “Products” and click on “Add Product”.
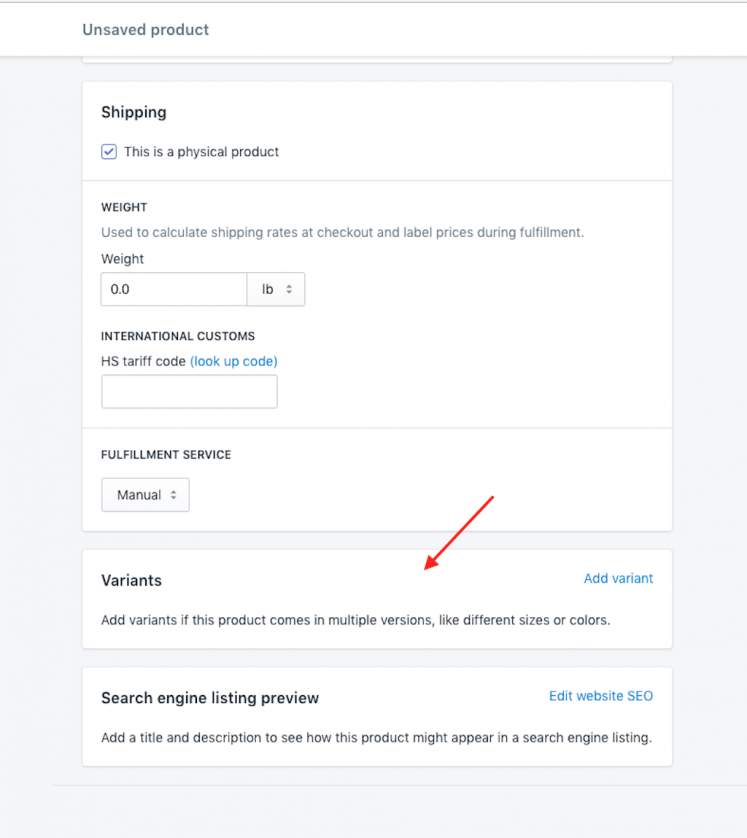
Add in your product title, description, images, pricing, inventory, and shipping. If you are selling a product that has multiple variations (i.e. clothing) you’ll need to add in variants, such as Size, Color, etc.
Lastly, update the product page title tag and meta description in the SEO section and organization information under “organization” on the side of the page.
If you’ve set up automatic Collection rules, be sure to implement them here. If you’ve selected manual Collections, type your Collection name into the Collections section to add this product to the collection.
Pro Tip: If you want to keep the same format for each product page (or you’re adding multiple products to one collection), duplicate products instead of creating new products every time. This allows you to keep the information for the previous product and simply customize the information, like SKU, images, description, SEO, etc.
Designing Your Shop
You don’t need a big fancy website when you’re first trying to get customers on Shopify. Since the main goal is to get customers right off the bat and collect data, all you really need is something that is user-friendly and looks decent.
Shopify has a ton of free themes that will get the job done. You can choose yours by going to “Online Store” under “Sales Channels” and selecting “Themes”.
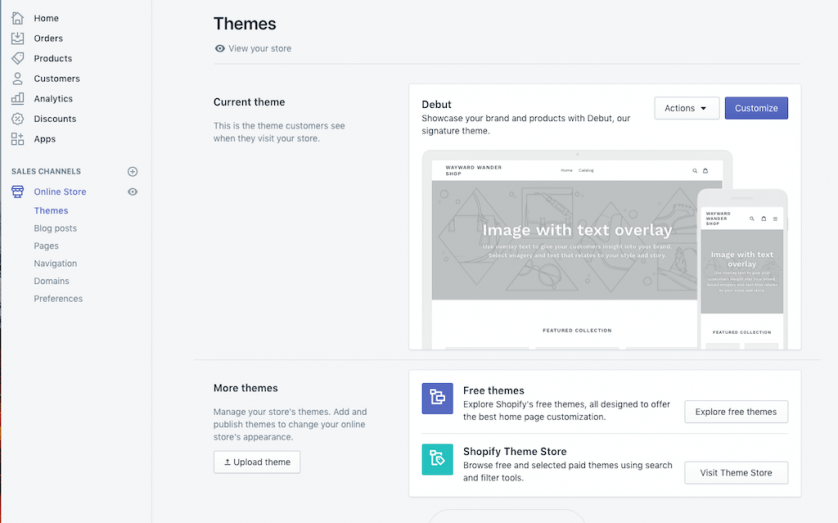
To customize your theme with your brand colors, logo, etc., click Customize and add in your branding.
You’ll also want to add an About page to your store, which you can do by creating a page under “Pages”. Read more about creating a strong about page here.
Lastly, you’ll need to add your Collections pages to your store’s navigation. Go to “Navigation” under “Online Store” and either edit the existing Main Menu or create a new menu (just be sure to add it in your store theme when customizing it).

4. Marketing Your Shop
Now that you’ve got your shop built, it’s time to get some customers. In order to do that, you need traffic… and this is where Shopify store owners tend to get overwhelmed.
Not all marketing channels work the same — so throwing all of your eggs into one basket doesn’t make much sense. Instead, think of all marketing channels as supplements and complements to one another. It’s all about how to make them work together to bring customers to your Shopify store.
Direct Outreach
I call this channel direct outreach, but other people would call it just hustlin’. This channel consists of all the tedious and tough pitching that you know you need to do…but don’t want to do.
This means emailing and Facebook messaging people that you know might be interested in what you’re selling and sending them to your collection pages, product pages, or About Page to learn more, buy, or subscribe to an email list (for discounts, etc).
Check out this case study for even more detail.
I wrote an entire guide to promoting your website online for free here.
Paid Advertising
Paid advertising encompasses a whole host of options, from Google search ads to display ads to Facebook ads.
For the purposes of getting customers on Shopify, I’m going to focus on two main paid advertising approaches: Facebook Advertising and Google Search Ads.
For a deeper dive into online advertising platforms, you can read my two-part series on online advertising here and here.
Facebook Ads
Facebook allows for some hyper-targeted audience advertising. Everyone on the network self-defines themselves into neat little marketing packages. They tell you exactly what they like!
So if someone says they like hiking, chances are they’ll like your hiking store.
Since you’re already in the selling phase, you most likely know a decent bit about the audience you’re trying to target, which makes Facebook a great paid advertising approach.
*As of June 2018 – Facebook Ads are the way to get customers. It’s kind of insane. The key is to be specific – and send your visitors to a specific page. Spend as much time as you can afford creating hyper-specific ads on Facebook for specific products.
Here’s an overview on how to start with Facebook ads and a deeper dive into how to advertise your site online.
Google Search Ads
Running search ads is a great way to show up for customers who are already searching for what you’re selling. With that said, AdWords can be expensive for a good return on investment, especially for the close to converting keywords that you should try to buy.
But your goal is slightly different.
You are buying data. Lots of data. And spending some money to acquire this data is a lot more effective than spending tons on an ecommerce content strategy right out of the gate.
You should be doing a few things with your new traffic.
- free shipping and other theories.
- follow this guide.
- this podcast episode.
- improving your ad campaigns in general.
Now that you have some sales and some data, you should have some sense about where to head next with your Shopify store.
Organic Search (SEO) Traffic
Organic traffic (SEO) might not be the best next channel to pursue after paid traffic. There’s a great big wide world of paid and organic traffic sources.
And yet, most Shopify owners do have a strong sense of the sheer volume of traffic that Google organic search can drive. For most, a successful SEO campaign would be a huge win. They just need to execute in the right context.
Google processes 3.5 billion queries per day. And for most queries, most of the clicks go to an organic result. And you’ll know from your AdWords campaigns that clicks for commercial keywords can be quite expensive. That’s a cost you don’t have to pay if you rank in the organic results.
So I won’t hide my enthusiasm for SEO. It’s my specialty and is the giant battleship that will keep on going once it’s headed in the right direction.
When you are working on getting customers for your Shopify store, you just have to know what it takes to get organic traffic and what it will take on your part to get it done.
SEO boils down to 3 components:
The first component is technical SEO.
Technical SEO is all about ensuring that Google/Bing bots can crawl and index your website effectively. It’s about making sure you’re not generating tons of duplicate content. Here’s “Technical SEO for Nontechnical Marketers”
The good news is that if you since you’ve chosen a platform like Shopify, you’ve already solved most all technical issues if you’ve set it up by the book (Shopify’s breakdown of SEO can be found here). Even hyper-specific technical SEO issues like Schema and Sitemaps and Canonicals are solved with Shopify.
Which means you’ll want to focus primarily on making sure your on-page content (i.e. your collection and product pages) are optimized. Which brings us to the second component of SEO.
The second component of SEO – on-page content and optimization – is all about “targeting” the right keywords and ensuring that your website is laid out in a coherent way that is understandable by search engines and users browsing your website.
I wrote about the concept of keyword mapping and some basic on-page SEO concepts (like keyword research, title tags and meta descriptions, and using Google Search Console) previously.
Shopify makes it extremely easy to optimize your basic on-page content elements directly on the platform. The bottom of every page — from product pages to Collection pages to your About Page — includes an “edit website SEO” section where you can customize the title tag, meta description, and URL of the page.
But on-page content means more than just optimizing your pages. For ecommerce, there are a ton of different pieces of content that can bring in visitors. From Buying Guides to How Tos to Collection Pages to Product Comparisons to niche topic ideas to even coupon page – there is near infinite potential to create content around your product and how your target market buys it.
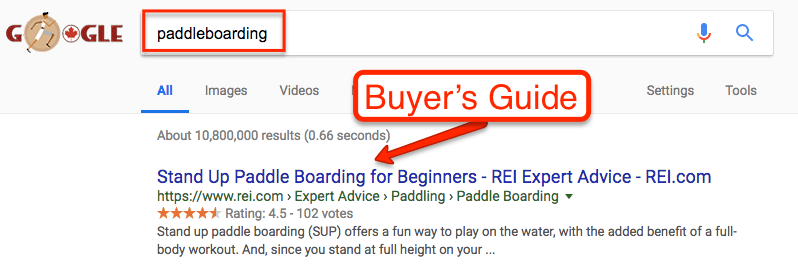
Pro-tip: If you want to see on-page content done right, look at REI.com. Copy everything they do.
The goal is to bring in new people AND support sales. Don’t create keyword-stuffed pages that won’t help customers on your website make a decision. Make the authoritative content that addresses problems, questions, etc. of your market.
The great part about creating the absolute best content that you can find about everything your target market cares about related to your store is that it will naturally drive the third component of SEO – off-page factors.
“Off-page factors,” the third component of SEO, is SEO-speak for getting links, with the caveat that links are not all considered equal.
Sketchy links, the type that you buy for $5, can harm your website. However, quality links placed on a related or well-known website are the primary factor for getting better visibility in search results.
There are a lot of ways to get links. But the best ways that I’ve found for eCommerce are:
- this guide to creating prequalified content. I’m a fan of this guide for the promotion angle as well.
- My Ahrefs Review has a detailed guide.
- cold outreach to people that you already know in the industry with compelling news or valuable offer or comarketing.
Social Media
Social media can be a great way to show off your products and get customers to your Shopify store, but eCommerce owners tend to make it way more complicated than it needs to be. Getting customers from social media isn’t rocket science. Unless you started a business you know nothing about, you should know where your audience hangs out online.
And if you know where your audience hangs out, don’t think that you have to be 110% present on every single social network. The key to social media is direct interactions where you build relationships and learn more about your audience.
Sure, claim and put your branding across all the various social networks, but choose the one or two that will generate an outsize impact on sales, links, and awareness of your Shopify store.
Learn how to automate the other profiles so that you have a presence even if you aren’t interacting. Set up alerts so that you can “listen” even when you aren’t actively participating.
And remember, you can pay to jump to the jump of the line on social media (see Facebook Advertising above).
Next Steps
So that’s a ton of information — and maybe a lot to process, especially if you’re thinking to yourself, “I’ve already spent money setting up a store, and I’ve gotten nowhere.”
The good news is, now you have a step-by-step process. Like any large project you want to do well, the key is breaking it down into small, actionable steps based on where you are and where you want to go.
If you’re just getting started, here’s your next-step action plan:
- Start with your brand name
- Set up your Shopify store
- Create focused Collections pages
- Get initial sales from somewhere – anywhere – and feedback
- Optimize what works, get rid of what doesn’t
- Be patient and keep adding new content to build organic traffic
If you’ve already launched your store aren’t seeing any customers, here’s what you should do next:
- Revisit your Collections pages and make sure they’re either offer or persona specific
- Use the step-by-step marketing plan above to get initial feedback and sales for data collection
- Keep the 80/20 Principle in mind and focus on the 20% that works
- 20% of the products make up 80% of sales
- 20% of content drives 80% of organic traffic
- 20% of ad spend drives 80% of revenue
All the best!
Related Articles
- Shopify Review
- Shopify vs. Wix
- Shopify vs. Etsy for Small Shops
- Shopify Website Examples
- Why Choose Shopify for an Online Store
- How To Make Money with Shopify
- Shopify Plus Review
- How To Get More Customers on Shopify
- Shopify Pricing & Plans Explained
- What Is Shopify & How Does Shopify Work?
- What Can You Sell On Shopify? (w/ Examples)